Showing posts with label fondant roses. Show all posts

Tuesday, May 17, 2016

Decorated Heart Sugar Cookies with Gumpaste Roses

This Mother's Day I asked my kiddies what they would like to make for mum, and my eldest daughter pulled out the cookie cutters. Mr 5 pored through a recipe book and pointed out a recipe for sugar cookies-so we got to it. I knew these gorgeous cookies would make the perfect budget friendly gift!
How important is involving children in cooking? I think it's a crucial life skill that needs to be encouraged at a very young age. I've vowed not to let one child of mine leave home without a good set of cooking skills under their belt-and not only the essentials. If you're wondering how to instill a love for cooking in your kids, there's a wonderful guide to cooking skills outlining appropriate cooking tasks listed by age, starting from three years and up. As painfully slow and messy it can be, I always allow my kids to get involved when I'm baking. They're too small to do much yet, but they do love activities like beating, rolling, measuring, sifting, licking the spoon....


BASIC SUGAR COOKIES (Adapted by Love Food pg.16)

115g butter, softened
55g caster sugar
1 tsp finely grated lemon rind
1 egg yolk
175g plain flour

Mix the butter and sugar with beaters until creamy. Beat in the rind and the yolk. Sift in the flour and mix into a soft dough. Gently knead until smooth, then halve the dough and form into two balls. Wrap in cling wrap and refrigerate for an hour (or the freezer for 20 minutes)
Preheat the oven to 180C (350F).
Grease and line two baking trays. 
Unwrap the dough and roll out on a lightly floured surface to the thickness of about 5mm/1/4 inch. Using a heart shaped cutter, cut out the dough and place the shapes on the baking trays with at least 2cm space between them.
Bake in the preheated oven for 10-12 minutes, or until they begin to turn golden.
Remove from oven and cool on a cooling rack. When completely cool, ice with royal icing, and decorate if desired.


ROYAL ICING

2 tbsp beaten egg white
175g icing sugar
water or lemon juice, if needed

Place the egg white in a bowl and add a little sugar. Beat until smooth. Gradually beat in the remaining sugar to make a smooth, thick icing that holds soft peaks. For a thinner, spreadable icing, beat in a few drops of water or lemon juice to get the required consistency. To colour the icing, use a toothpick to add a little liquid or gel food colouring an mix thoroughly.
To ice the hearts, outline the cookies with the thicker icing and allow o ry, then fill in with a more spreadable royal icing. We decorated with a smaller version of these gumpaste roses and store bought edible pearls.


Thursday, February 20, 2014

Fondant Rose Petal Engagement Cake

One of my beautiful friends has become engaged. Slowly, as I grow older, my friends are getting married, and that not only fills me with a certain joy, but also gives me the opportunity to further my experience making their engagement cakes.
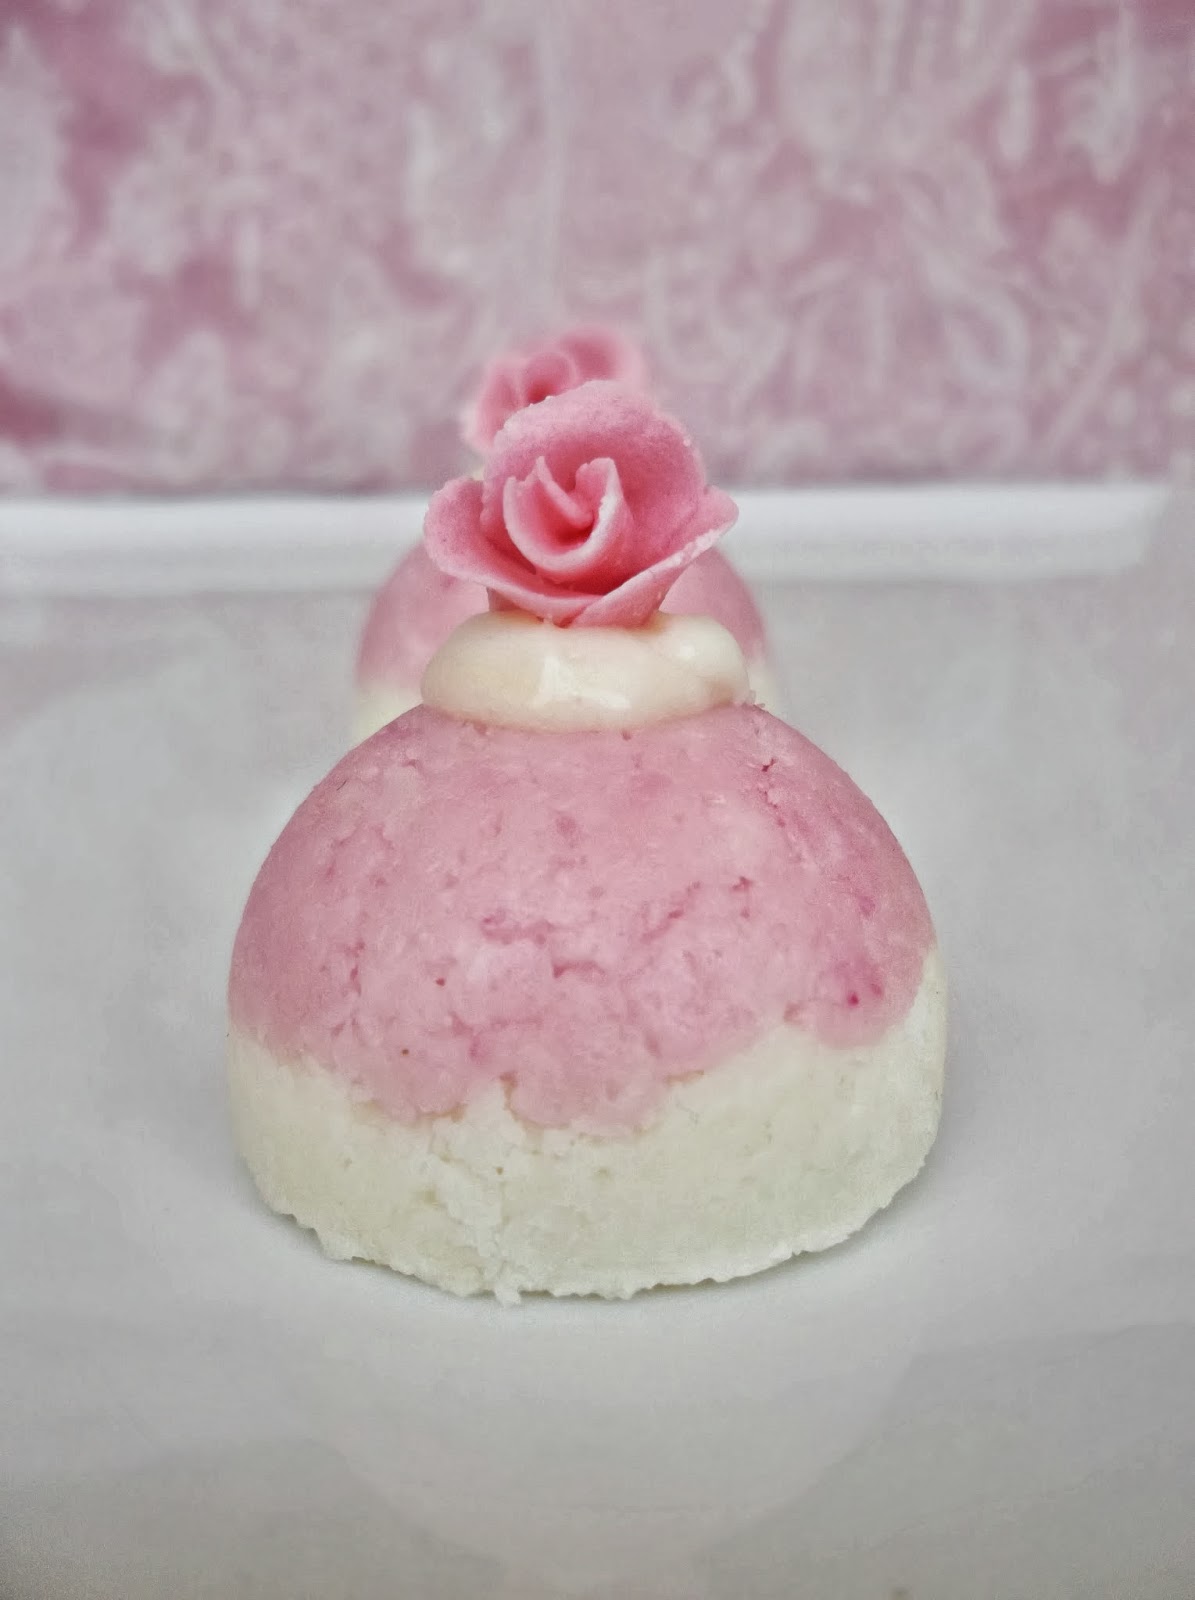
I have long admired the "exploded rose" or "rambling rose petal" look on wedding cakes and engagement cakes alike, so I purchased a case of rose petal cutters, varying in size from very large to quite small. I used the four smallest cutters from this range to cut out the fondant rose petals for this cake, with the idea of working from the centre out and graduating the size as I worked from the bud. When dried in the shape I desired, all the fondant petal edges were carefully brushed in pink petal dust for a delicate and realistic effect before their placement on the cake. The centre part of the rose had been coloured with this same petal dust with more intensity to create dimension and also a focal point to the flower.
To assemble, I started with the bud, (I made the beginnings of the rose as a separate piece) positioning it close to the bottom of the cake. Then I added larger rose petals surrounding it, fixing them with butter-cream icing. The petals fanned out from the main rose bud, and traveled up the cake in a romantic, sprawling fashion. Then I positioned a few of the larger petals at the top as if they had been scattered there.
Sadly for the weekend of the engagement party, it rained every day. This put a spanner in the works, as any humidity or rain in the air reeks havoc on the fondant, and makes it somewhat unstable. I was unable to have an air conditioned environment, so I experienced the fondant on the cake tearing, and the rose petals turing wet overnight before I put them on the cake. Fortunately, the sun came out for a period and they quickly dried, and I was able to get them on the cake without too much drama. I had one or two petals that cracked, so I had to glue them togather again with some egg white and prop them up until they dried once again.
Due to the tearing fondant for the main of the cake, I decided on going with a mummy-style wrapping effect of fondant strips around the cake, which turned out better than I expected in my depressed state of mind. You know that feeling when you envision something, and it doesn't turn out anything like you thought? Well, that was me, while it rained buckets and I struggled to cover the main of the cake. The wrapping effect did the trick though, and any unsightly bits were easily covered by ribbon and strewn petals. Happily, the cake made it to the engagement party in one piece! Ah, sometimes I wish I didn't live in a subtropical climate. Water and fondant are not friends. Anyway, I hope the pictures help if you're creating a cake like this. Sorry about the quality--now with my bigger camera and my sticky hands, amid concentrating on the cake, its no mean feat getting quality pictures. My apologies.

Rose Petal Engagement Cake


Rose Petal Engagement Cake

To begin with, cut out the rose petals from thinly rolled light pink fondant. (I used the supermarket brand Queen "White Icing". You can use any brand of fondant or gum paste if you prefer) I cut these out in four graduating sizes with cutters for individual petals. Then I placed them to dry in plastic trays in the shape I wanted them to be on the cake.


I made the centre piece of the rose first--this is the only part of the rose that is combined to create a unit of it's own. The other petals are left loose. When the petals had dried, I roughly arranged the loose ones around the rose centre to get an idea of how I wanted them set on the cake.


I used petal dust in pink and a small new eyeshadow brush to tint the edges of the rose petals and the centre of the main rose. This added definition, dimension and depth to the rose and made it look more realistic.


The cake itself was covered in flaws, so don't look too closely! Fortunately this style of flower arrangement on a cake is good if you have made mistakes, because you can cover them artistically with petals.


Sadly I couldn't wield the chunky camera and cake decorate at the same time so I missed out on capturing the building of the rose for you. Basically I positioned the main rose (the "centre" of the rose) close towards the bottom of the cake, and added the rose petals in around it, tucking in the pointy end of the petals beneath the centre rose. Some of these I fixed in place with a little buttercream icing. You may want to use some props to hold the petals in position while this "glue" dries (Don't give me away, but I used some toys--cleaned prior of course-to prop some of these petals in place overnight).


As you build further out from the centre of the rose, the loose petals do not have to be so closely inter-lapped with the others--you can even have some fly-away rose petals! It is an exploded rose after all. And yes--that's a wine in the background! I was under stress with the humidity foiling a smooth process.


Here you can see the petals are "tucked" in behind the main centre of the rose (I keep saying centre but it's anything but the centre. Hopefully you know what I mean!) I have seen this cake arranged backwards--starting with the back petals first and finishing with the centre of the rose...it's up to you.


The finished product. I had to take out a few petals and replace them as a few broke under the pressure (or maybe I made them too thin?) So be prepared, make a few extra spare petals in each size and don't worry too much. Here's a glass of wine on me!

Friday, January 31, 2014

Shabby Chic Bridal Shower Hightea

It's been quiet around the blog since my camera gave up the ghost, despite the fact I have been quite busy in the kitchen. Christmas Holidays meant taking time off to be with the family, but I had a few parties in the mix too. One of which was a gorgeous shabby chic style high tea held in honor of a friend who was to be married. It was for her bridal shower and screamed all things feminine and girlie. I themed the menu so that everything was decadent and pink, featuring roses and sugared rose petals, pearls and floral fondant toppers. Teapots sporting beautiful roses, delicate ferns, and lisianthus decked a table strewn with cake stands and champagne glasses, tiered high tea trays and pretty china saucers. Our poison was sweet moscato, with the addition of old fashioned pink lemonade for the non drinkers, and we also had some Rose on the side.
The trays were piled with ornately decorated cupcakes, mini banoffee tarts, mini lemon meringue tarts, pink lamingtons, cake pop skewers, pastel meringues, coconut ice domes topped with edible roses, jelly cheesecake shots, dark chocolate cointreau truffles, white chocolate Tia Maria truffles, dark chocolate royals, and a strawberry topiary.
And, as you can see, one of my Christmas presents was a nice camera, which I was able to take these photos with. I am still working out all the settings and getting used to it, so please bare with me for a while while the photos are not at their best. I will eventually get there! (If you wish for any of the recipes for the above menu, click on the word above--it will take you to the recipe link. Any that are not linked up, these recipes are yet to come! Keep checking back!)

Shabby Chic Bridal Shower Hightea


Tuesday, October 1, 2013

Coconut Ice Domes with Roses

We've hit a million views. And that makes me want to come out and give a give hug to everyone who has ever been to visit the blog--unless you're some sort of creepy stalker type, then I will refrain. Politely.

Where have I been?
Am I alive?
Why am I posting less frequently?

There are a few reasons:

1. Every time I make or go to eat anything that could be classed as sweet, my husband reminds me I have to visit the dentist. (Random I know, but did you know the pickle in the cheeseburger is the only thing that stops it from being classed as confectionery?)

2. There's someone in this house that needs me more than my blog fans--oh yes, the precious new baby of the house! I would not miss those precious new born moments with her. Yes I am with her every waking hour, and do manage to cook a few things while she's sleeping every so often. So don't worry, I'm not going anywhere!

3. I wish baby weight melted away from eating lots of naughty food. I don't think I stand a chance. (Note to self: It's time to seriously start cooking for my husbands colleagues to keep the recipes rolling. The fat must be shared around.)

4. Blogger is posting my pictures with some sort of grainy, grey film over my shots...making them look super inedible. Slightly moldy, to be honest. (see pictures below for example) I don't know why or how to fix this problem--any ideas? The original shots are light and warm and just beautiful...why have they uploaded like this?

Anyway, now you know, I'm not among the deceased, and it's time to present a school fete favourite--Coconut Ice--all grown up this time, domed in shape and decked with pretty little fondant roses. These would make such a pretty addition to a high tea or girls party as they are definitely feminine and a bit of a show stopper, if I say so myself. They sport a vanilla infused coconut base, topped with a lightly strawberry flavoured pink dome (I had to find a way to use those gorgeous dome molds that have not been of much use so far...makes for a fancy looking dessert after all!) with a dollop of vanilla cream icing and a pink fondant rose. And they are incredibly delicious, and rich, and it is, I warn you, a little hard to stop at one...


COCONUT ICE DOMES WITH ROSES (Adapted from Delicious, October 2002 by Valli Little)

Domes:

2 cups icing sugar
pinch cream of tartar
395g can of sweetened condensed milk
1 tsp vanilla essence
3 1/2 cups dessicated coconut
1/2-1 tsp strawberry essence
15 small fondant roses (make your own here!)

Icing:

1/2 cup icing sugar, extra
a few drops vanilla essence, extra
2-4 tbsp. heavy cream

Sift the icing sugar and cream of tartar into a medium sized bowl. Add the sweetened condensed milk, vanilla and coconut and stir until well incorporated. Divide the mixture between two bowls. Add the vanilla essence to one, and the strawberry essence to the other. Mix until thoroughly incorporated.
In the bowl containing the strawberry essence, add a drop or two of red or pink food colouring. Stir again until the colour saturates the mixture. (If you find that the addition of this extra liquid has made the texture too wet, add a little more icing sugar to the mixture. You don't want it to be too damp, but able to hold its shape when you press it together in your hand.)
Liberally grease your dome molds. Spoon the pink mixture into 15 molds until the mixture is evenly distributed between them. Firmly press the mixture into each so that it is firmly compressed and flat on the top. Repeat with the white mixture on top of the pink, filling each dome to the rim, and pressing down again firmly. Refrigerate for two hours before gently removing with the help of a spoon if necessary.
To make the icing, place the extra icing sugar and extra vanilla in a small bowl. Combine with just enough cream to get a nice texture that will not drip when applied to the coconut ice domes. Dollop a small amount on the top of each dome, and then top with a fondant rose.

Makes 15 domes


NOTES: If you do not have a dome mold such as the one used in this recipe, you can easily make this in a 30x20cm slice tin and cut it into squares.

Thursday, August 15, 2013

Christening Cake and a New Lick the Spooner

I don't usually like to spill too many household beans here on the blog. But we have some exciting news! And I have been rambling on for a long time about expecting a new little bubba, so here we go, the beans are being spilled.
It's a girl! And all that test tasting in the kitchen went towards creating a beautiful pudding, weighing in at 4.4kg! Don't ask.
Needless to say I can see my toes again and am enjoying not having heart burn....and loving fat, warm baby cuddles!

Cecelia at 5 days old--not looking so newborn!

We had our Cecelia Marie baptised one week after she was born, and I somehow still made a Christening cake.


I made most of the decorations in advance--well, the fiddly time consuming bits like the roses. All the icing work was done with store bought rolled fondant (Orchard brand White Icing) and I dabbled in a little draped icing work which I can see being highly addictive in the future. This draped icing was coloured with a little pink liquid food colouring (no need to buy the powdered stuff, and the liquid is less expensive).
I didn't have the confidence or patience at the time to mold the baby myself (remembering melting figures in the past turning into fat blobs), so I used one of my daughters little dolls to top the cake. Of course she wanted it off immediately. Even now as she stands by me looking at the picture, she wants it off.
Overall, it was a very easy christening cake to make and I feel most people would be able to put something like this together even without experience. Give it a go! You may surprise yourself. It's amazing what a little icing and some rolling can do.

One week old. One more person to Lick The Spoon!

Wednesday, December 5, 2012

Pastel Bird Cage Cake

I think I've lost my mojo. It sometimes happens when I get sick. Or burn something. Or a special cake melts due to the heat.
I'm pretty sure all those things happened to me in the last two weeks. My little daughter turned one, and I attempted to make her a pink and white birdcage cake, covered in pastel rolled fondant roses.
It turned out looking like the leaning tower of Pisa, after I made the mistake of icing the layers with buttercream icing.
In summer.
In Brisbane.
With weather forecasts of close to 40C.
We tried to salvage the cake by putting it in the aircon, but even still, the cake leaned and leaned  and slipped and slid until it cracked horizontally half way and the top looked like it would topple. Due to the leaning, the icing began to tear and the white chocolate used for the cage lines began to crack and bow.
Thanks to my husband, we saved the cake from completely falling into a heap. He came to the rescue just before it collapsed and propped it upright with a small cushion against the wall. Oh the things you have to do to save cake sometimes!
Despite all this, I think, before it leaned all the way over and cracked, it looked pretty in all its pastel glory. My little darling was wrapped in it.  Thank goodness for her one year old eyes overlooking the flaws. I couldn't wait for the party when I could finally let the darn thing collapse as it so desired.


To learn how to make your own rolled fondant roses, follow the tutorial here.