Showing posts with label caramel. Show all posts

Wednesday, June 8, 2016

To Die For Snickers Bar Cake


It's almost been a year since I made this crazy decadent Snicker's bar cake for my hubby's birthday. I lost it's photos among the craziness that  followed two weeks later-the birth of my youngest son. Sometimes I feel like that newborn phase creates a mayhem that no one who hasn't been through it understands. For me that usually lasts the first year after baby is born. I'm coming out of the fog, people! Paddy is almost one, and while I still don't get any more than two hours sleep in a row max, I'm seeing the light at the end of the tunnel (through droopy eyes.)
Baby experience or not, you may have a "food baby" after eating this cake, which is just a giant replication of your good old Snicker's Bar. It is seriously one of the richest most decadent things I have ever eaten, and I can't believe that my husband and I tackled this thing on our own. This is really the type of cake you could have at a party, it goes a long way because you cant eat too much at one sitting.
If you're not throwing a party, you could consider cutting this in half and freezing a portion. I had to feed half of this to the birds in the end because it took us that long to work our way through it that the custard began to go bad-it was such a shame I had not thought to freeze part of it!
It's insanely impressive in appearance and in taste, with decadent layers of Snickers, chocolate ganache, caramel, peanut butter custard, chocolate custard and biscuit. To die for!


SNICKERS BAR CAKE (Heavily adapted from Baker's Royale)

2 packets of rectangle Arnott's Milk Coffee Biscuits
12-14 mini sized snickers bars, chopped

Pudding:
2/3 cup corn flour (corn starch)
1 cup granulated sugar
pinch salt
6 cups cold whole milk
1 tbsp vanilla extract
3/4 cup dark chocolate, chopped
3/4 cup smooth peanut butter

Ganache Pouring Sauce:
2/3 cups dark chocolate
1 tbsp heavy cream
4 tbsp icing sugar (powdered sugar)
4-5 tbsp warm water

Caramel Sauce:
2 tbsp honey
2 tbsp butter
1/2 cup brown sugar

To make the pudding and assemble the main:
In a large heat proof bowl, place the corn flour, sugar, salt and milk. Beat with electric beaters until well combined. Transfer to a heavy based saucepan. Over a very low heat, stir continuously until thick enough to coat the back of the spoon and leave ribbons when drizzled on itself.
Add vanilla and stir through to combine. Divide the mixture in half. Add the chocolate to one half, and the peanut butter to the other half. Stir both separately to combine thoroughly. Line a 8x8 pan or two 4x8 loaf tins with grease-proof paper, with the sides of the paper hanging over the edges for easy removal. Line the bottom with a layer of the biscuits laid side by side, breaking any biscuits that don't fit to make a good base. Spread a thin layer of the chocolate pudding over this biscuit base. Make the second layer of biscuit over this. Spread with a layer of the peanut butter pudding. Continue until the pudding is used up, and finish the top with the final biscuit layer. Cover in plastic wrap and place in the freezer for 3-4 hours. Half an hour before removal make the ganache pouring layer.

To make Ganache Pouring Sauce:
Place heavy cream and chocolate in a bowl over another bowl of hot water. Let sit for 5 minutes before stirring through until smooth. Add the powdered sugar and mix until until smooth. Add the water a tablespoon at a time until pouring consistency is reached.
Remove the cake from the freezer. Pull the paper sides to release the cake from the tin. Place on a serving platter. Pour the ganache over the top biscuit layer to cover. Sprinkle with the chopped snickers bars. Then make the caramel sauce to finish the cake off.

To make the caramel sauce:
Place honey, butter and sugar in a small saucepan over a low flame. Stir as the butter melts, continuing until the mixture boils. Cool for a minute or two before quickly drizzling over the top of the cake (this dries quickly in the pot, so make haste)
You can return the cake to the freezer to firm up before cutting, or serve straight away. Semi freezing is advised for nice neat cuts.


Thursday, March 20, 2014

Caramel Walnut and Chocolate Slice


Have you heard of the paleo diet or lifestyle? I only discovered it recently, as some of my friends have joined in this way of eating. I had my first paleo muffin yesterday and it was indeed a healthy snack. It's a far cry from the sweets I'm used to creating in my kitchen, and it made me think of how boney I would be if I followed the trend. I say trend, although my friends are certain it's not, and call it a lifestyle rather than anything. I suppose it has become popular recently though, as several paleo cafes have popped up in the area in the last year out of the blue. It's one diet that seems to be a sustainable way of eating, unlike so many diets that people use to lose weight, like the shake diet, which for me, is a recipe for fluctuation. It also seems to be a good thing to stick to if you're lactose or gluten intolerant. It cuts out many processed and refined foods, and steers clear of legumes, starchy vege, dairy and grains. It's a sort of cave man style of food--fresh vegies, meat, fish, nuts and fruit.
For myself however, I am sticking to "balance is key" and just eating a little bit of all the good and tasty stuff, even if it is processed. Life is too short to deny yourself one piece of slice--especially when it comes with a layer or chocolate, a gooey golden filling of caramel dotted with walnuts, and a buttery, shortbread base. Walnuts are healthy, right?


CARAMEL WALNUT SLICE  (Better Homes and Gardens)

350g butter
225g caster sugar
275g plain flour
395g sweetened condensed milk
1/4 cup honey or golden syrup
1/4 cup walnuts, chopped
200g dark chocolate, melted

Preheat oven to 180C. Put 225g butter and 100g of the sugar into a bowl and beat until light and creamy.
Add flour and stir to form a soft dough.
Spread the dough in a lined slice or lamington tin. Bake for 25-30 minutes or until golden.
Put remaining butter and sugar in a medium-sized pan and stir over low heat until the better melts. Add condensed milk and honey, stirring continuously until the mixture is combined and very thick.
Remove from heat. Stir walnuts through, before pouring over the slice base.
Leave to cool, and then spread melted chocolate over the caramel to the edges.
Refrigerate for 3 hours before cutting into 24 squares.

NOTE: You may want to use a hot knife to cut through the chocolate as it tends to crack a little when cutting.


Sunday, November 17, 2013

Caramel Popcorn Balls

 My son will not eat corn, hence he will not eat popcorn.
"Mum," he says "if it's corn, it's a veggie." And we all know how hard it is to get the kids to eat their veggies, even if it is in the form of popcorn. Yes, this is the three year old that knows his chocolate custard from his chocolate mousse, and isnt hesitant to make it known. "This isn't custard Dad--I think it's chocolate mousse!" While I beam with pride that my son knows the difference, part of me thinks, we probably conume more mousse and custard than we should.
My two year old daughter on the other hand, is more of the experimental type, and corn in any form does not faze her. In fact, she can't get enough. She went crazy for this popcorn when I made it. Her eyes almost popped out of her head with glee when she saw me pouring hot caramel over the fresh popcorn, and she started clapping excitedly. This recipe for caramel popcorn is from Danielle's blog, Hugs and Cookies XOXO. Danielle is the owner of a delightful blog just bursting with all sorts of scrumptiousness--and I found it hard to choose just one recipe to recreate for this months Secret Recipe Club Reveal. The caramel recipes alone left my keyboard rather drooled upon. Anyway, I've been looking for Christmas recipes for a long time, and when I came across the caramel popcorn it brought back vivid memories of Christmases gnawing away at caramel popcorn in the form of a ball.
My parents ended up making a rule against gift giving among my siblings--there are ten of us kids, so you can imagine the mountains of presents surrounding the tree and everyone getting stressed over what to buy and the lack of coin, especially among the younger ones. So my parents would give us all presents, and we would in turn, add something to the day--the Christmas tree, the wine, the pudding, the candy canes for the tree--whatever we wanted. For many years in a row I recall making caramel popcorn balls tied with ribbon, and hanging them on the tree like baubles as my little gift for the day. It's very economical and fun, and easy enough for children to make. They would make great DIY teacher's Christmas gifts for the end of school as well, tied up with ribbon in a clear cellophane bag. They would also be a great treat to sell at a school fete--cant you just see all the little ones munching away?
Now will my son eat corn?
Only if it's popped kernels covered in caramel and made into a ball shape. Somehow now, it's not a vegetable.


CARAMEL POPCORN BALLS (Adapted from Hugs and Cookies XOXO)

6 cups already popped popcorn
1/2 cup butter
1 cup brown sugar, packed
1/4 cup honey (golden syrup or light corn syrup and great substitutes)
1/2 tsp salt
1/4 tsp bicarb soda (aka baking soda)
1/2 tsp vanilla

In a large bowl, place the popped popcorn. Set aside.
Melt the butter in a medium saucepan, then add the sugar, honey and salt. Stir to combine, then let boil without stirring for 4 minutes. Remove from heat and stir in the bicarb soda and vanilla. Pour this hot caramel over the popcorn. Stir thoroughly, then set aside for 5-10 minutes to cool. The caramel is extremely hot, so cautiously test the caramel with your finger to make sure it's cool enough to handle. While it is still warm, scoop handfuls of caramel popcorn and form them into balls, about fist size. Make sure you use some pressure, so that the ball holds together firmly. Set aside to cool before tying with ribbon.

Makes approximately 6


Friday, August 30, 2013

Fudgy Dulce de Leche Brownies

If there's any food I'll ever call wicked, it's probably this super fudgy dulce de leche brownie. Oozing with South American style caramel, and packed full of chocolate, this brownie is bound to satisfy any sugar or chocolate cravings within seconds. Thankfully for the waistline, it's a super rich brownie that can't be eaten in huge quantities at a time, but makes a large batch for sharing or freezing for future desserts--it's particularly delicious warmed up with a scoop of vanilla ice cream on the side. Absolute decadence!


FUDGY DULCE DE LECHE BROWNIES (Adapted from Delicious. More Please by Valli Little)

400g can sweetened condensed milk
200g dark chocolate, chopped
250g butter, chopped
1 3/4 cups brown sugar, firmly packed
4 eggs
1 1/3 cups plain flour
1/4 tsp. baking powder
1/3 cup cocoa powder

To make the dulce de leche, remove the paper label from the side of the sweetened condensed milk can. Immerse the can into the saucepan of water so that the water covers the top of the can. Place over a high heat on the stove and set the stove timer. Boil for three hours, checking frequently to top up the water to cover the can if it has evaporated. (It is important to keep the can covered, as failure to do so may result in the can exploding). Turn off the heat and allow the can to cool before removing and opening.Set aside to completely cool.
Meanwhile, preheat the oven to 180C. Grease and line a 22cm square cake pan with baking paper. Set aside.
Place the chocolate and butter in a medium saucepan over a low heat. Stir until the contents have melted and are well combined. In a bowl place the brown sugar and the eggs. Whisk until the eggs have broken down, then add the melted chocolate and butter mixture. Stir in the flour, baking powder and cocoa until well incorporated.
Pour half of this batter into the base of the lined baking tin, and smooth to evenly cover the bottom. A teaspoon at a time, scoop half the cooled dulce de leche from the can onto this batter in random areas. Cover with the remaining brownie batter, and repeat again with the rest of the dulce de leche. Gently swirl the caramel on the top layer  with the end of a spoon (do not break through the brownie batter though as this can spoil the brownie.)
Bake for 35-40 minutes or until set. The dulce de leche will be molten, so allow to cool in the pan before removing to cut into squares.

NOTES: You can buy prepared and authentic dulce de leche from some gourmet food stores.


Tuesday, April 3, 2012

Custard Toffee Cream Desserts


You know those times that you plan to have people over, after a big feast day like Easter, and you're not sure if you should make as much food as usual? You know no one's going to have a very large appetite if they've done the traditional chocolate egg eating. So, to make dessert, or not to?
I hate having too many leftovers, especially when it's just hubby and I who have to polish them off (trust me I don't need that temptation!) 
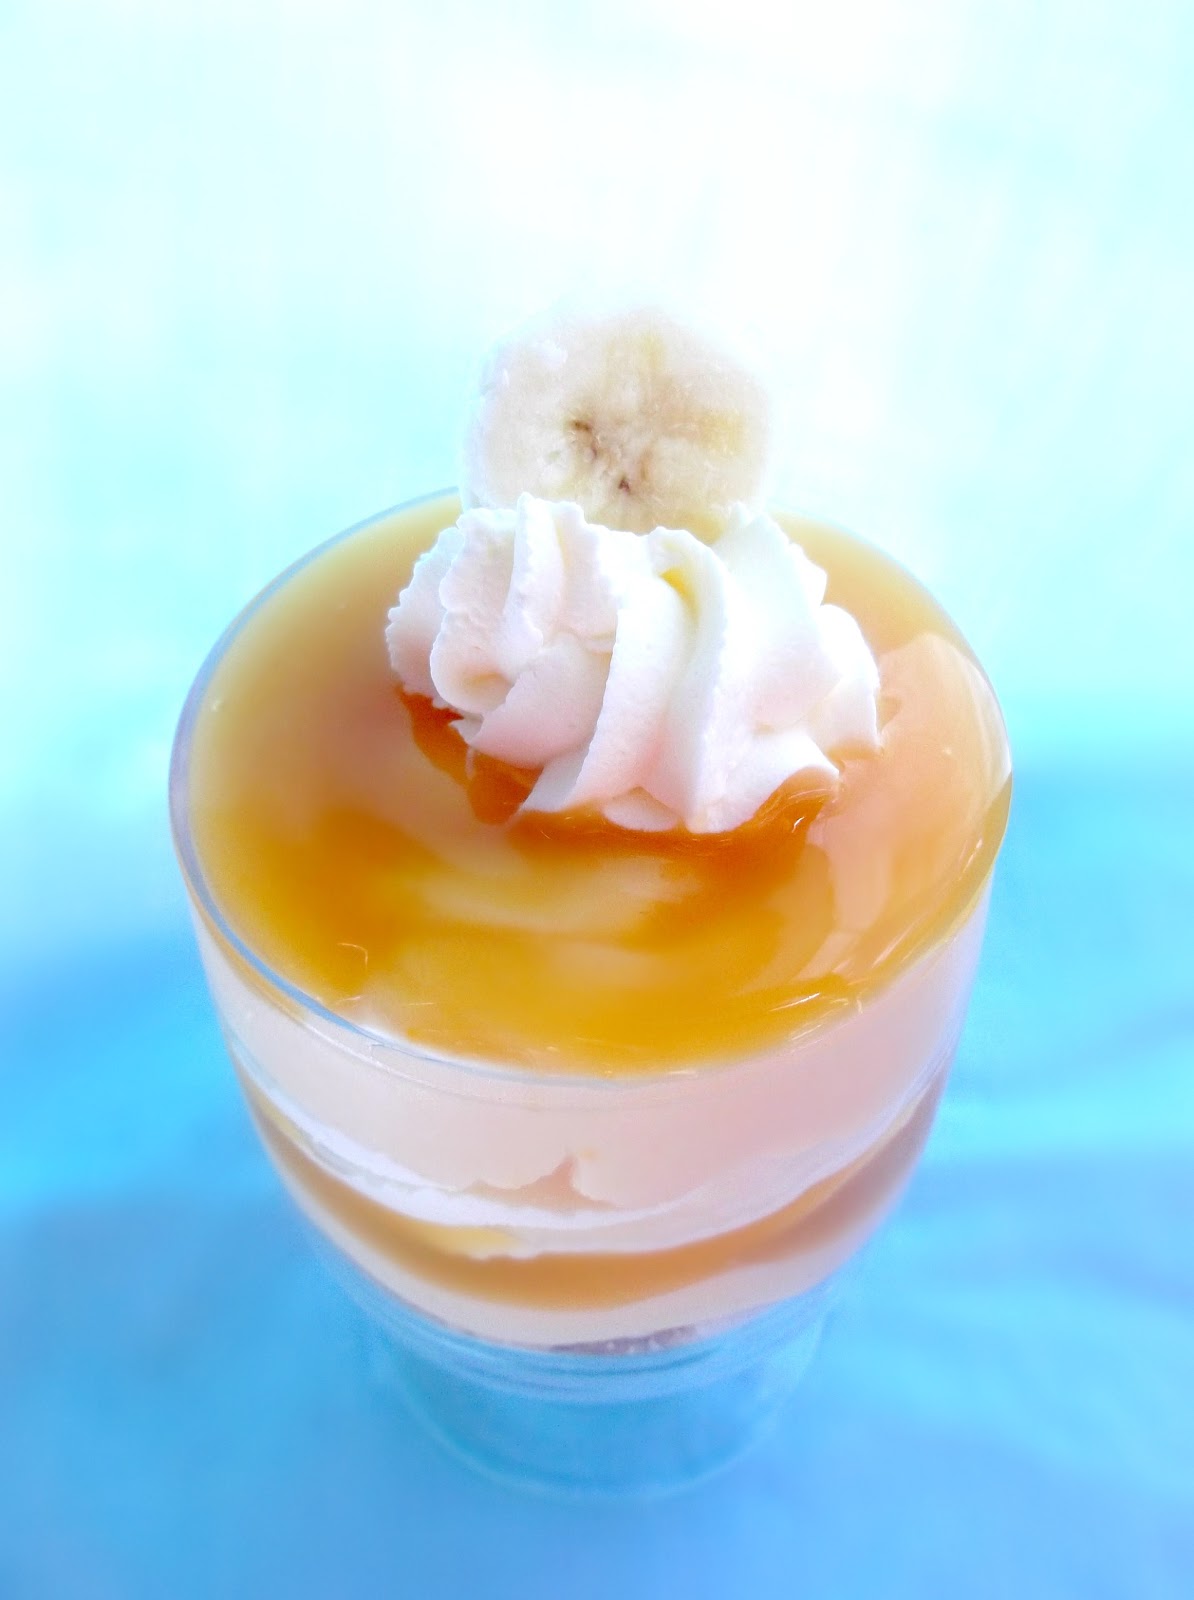
So I fell in love with this recipe for Custard Toffee Cream Desserts, because you can assemble them on the spot quickly, so as to only cater for as many people as feels like dessert to top off the meal. It's very simple, and very rich--like a disassembled banoffee pie with added vanilla custard. I cheated with this recipe and used store bought toffee sauce (like the goo that you usually pour over ice cream) but here's a fabulous recipe for home made caramel sauce that's to die for. I also made my own vanilla custard because I like it really thick and creamy, but for ease, I have just listed it in the ingredients as store bought.


INDIVIDUAL CUSTARD TOFFEE CREAM DESSERT (Adapted from Glorious Treats)

1 small banana, sliced (reserve one slice for garnish)
1/4 cup whipped cream
1/4 cup thick custard
1 crushed biscuit (we used shortbread fingers)
drizzling of toffee or caramel sauce

Crush biscuit and place in the bottom of the glass. Layer banana, then custard, toffee, cream, banana, custard and then toffee again. Pipe a swirl of cream on the top and garnish with a slice of banana. Serve immediately.

Serves 1


Monday, March 19, 2012

Caramel Sauce

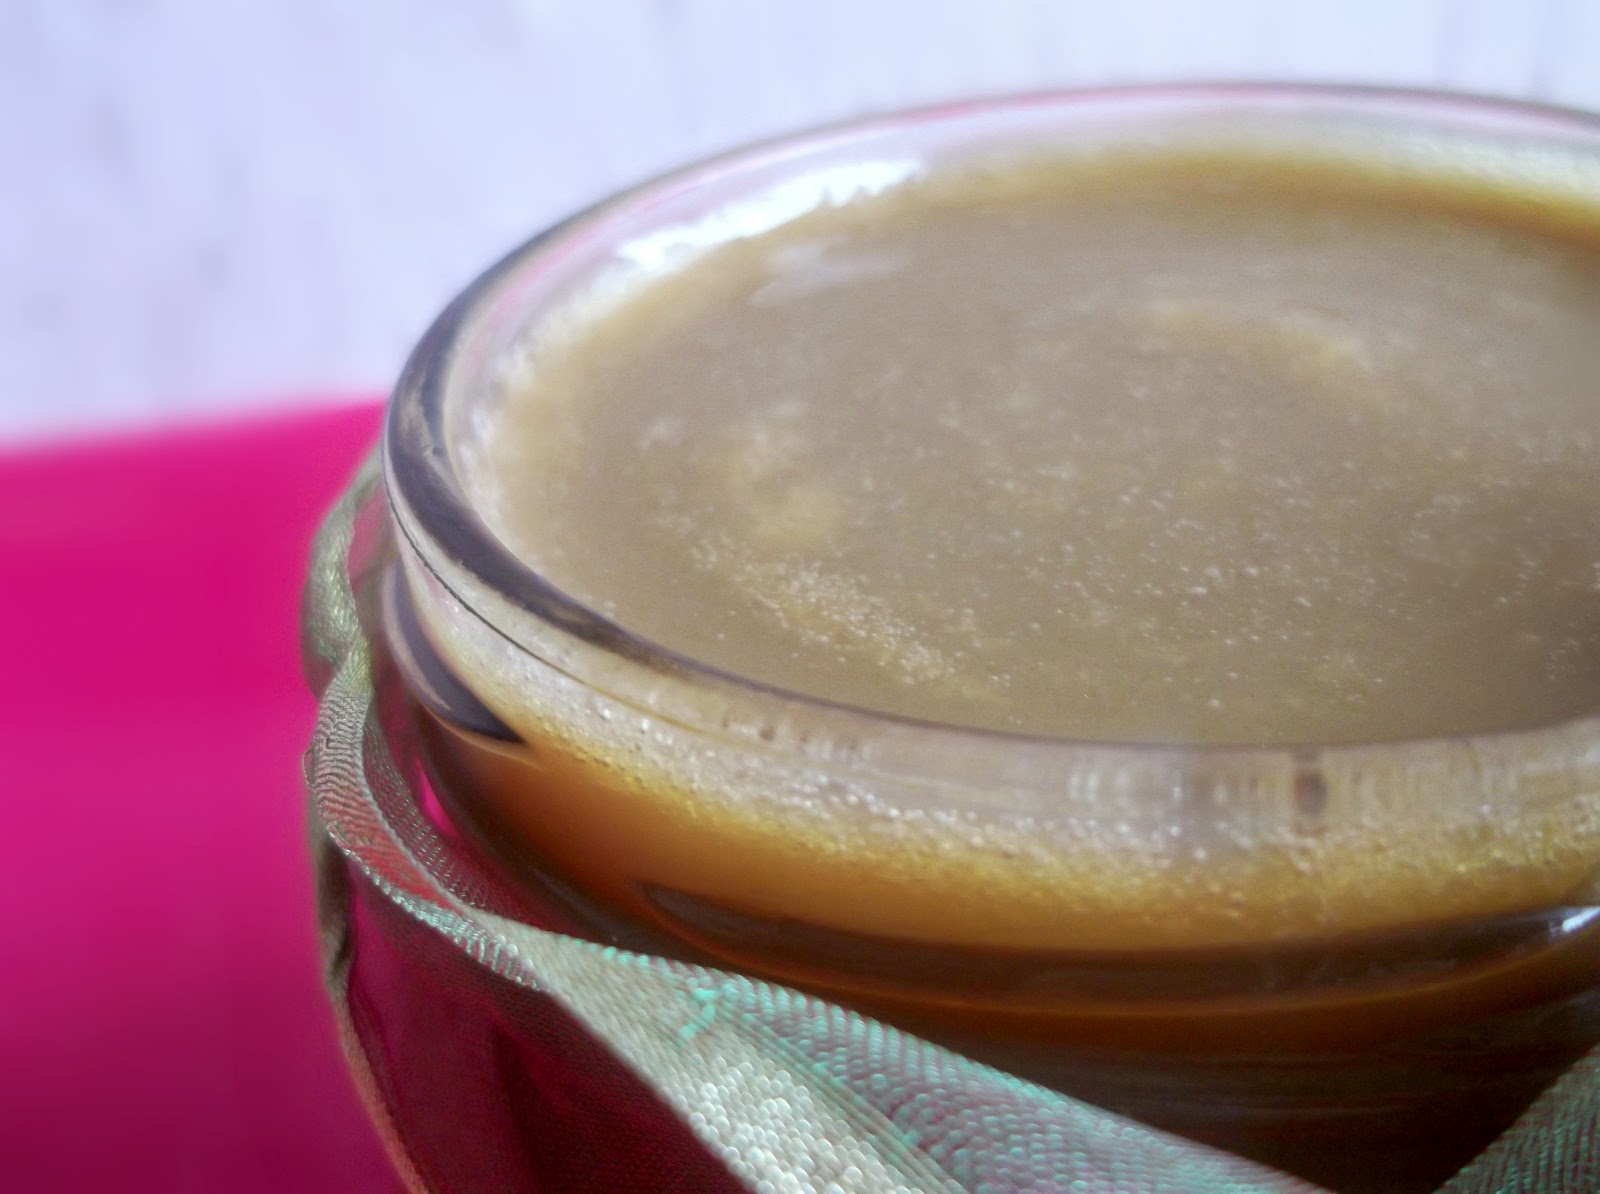
 I don't know about you, but there's little I love more than sweet, sticky, gooey and thick caramel. It's one of those delicious things you can just about put on or in anything to create a delightful morsel. It's one of those all-rounder additions, whether it be on top of ice cream, in a pie, or spread on toast or between the layers on a cake. If I wasn't trying to cut back so much on sugar (thanks to a recent and rather uncomfortable dental trip) I would have this delicious caramel sauce as a staple in my refrigerator. The opportunities to use caramel sauce are simply endless, and this is a particularly delightful recipe discovered on From My Sweetheart, a dessertaholic's blog put onto me by The Secret Recipe Club, where we bake, blog and share.
Now really, Anne, you and I should be visiting DAA (Dessert Addicts Anonymous) on a weekly basis due to the deliciousness of your blog. I tweaked the recipe a bit to go along with a somewhat limited pantry content, and it was simply delicious. This sauce would make a delightful gift, bottles in a pretty jar with ribbon and a retro tag! Don't forget to check out Anne's version for the original recipe!


CARAMEL SAUCE ( lightly adapted from From My Sweetheart)

2 cups brown sugar
1/2 cup water
1 1/2 cups heavy cream
1 tsp vanilla essence
2 tbsp butter
large pinch of salt

Add the water and sugar to a medium saucepan, and stir to combine. Place over a low heat until the sugar dissolves, refrain from stirring. Increase the temperature to a medium heat and boil for about 5 minutes until the sauce turns a golden brown. Using a swirling motion, move the saucepan around  to stir the sauce. Be sure to keep a close eye on the sauce as it can easily burn at this point. Remove from heat and slowly add cream and vanilla essence. At this point the caramel will solidify--then add the butter and the salt. Return to the stove on a low heat, stirring continually until the ingredients are well incorporated the sauce becomes a smooth caramel. Cool for at least four hours, then bottle and refrigerate. Sauce will become thicker on cooling and refrigeration.

Makes approximately 3 cups of delicious caramel.